The Simple Setup to Get Started
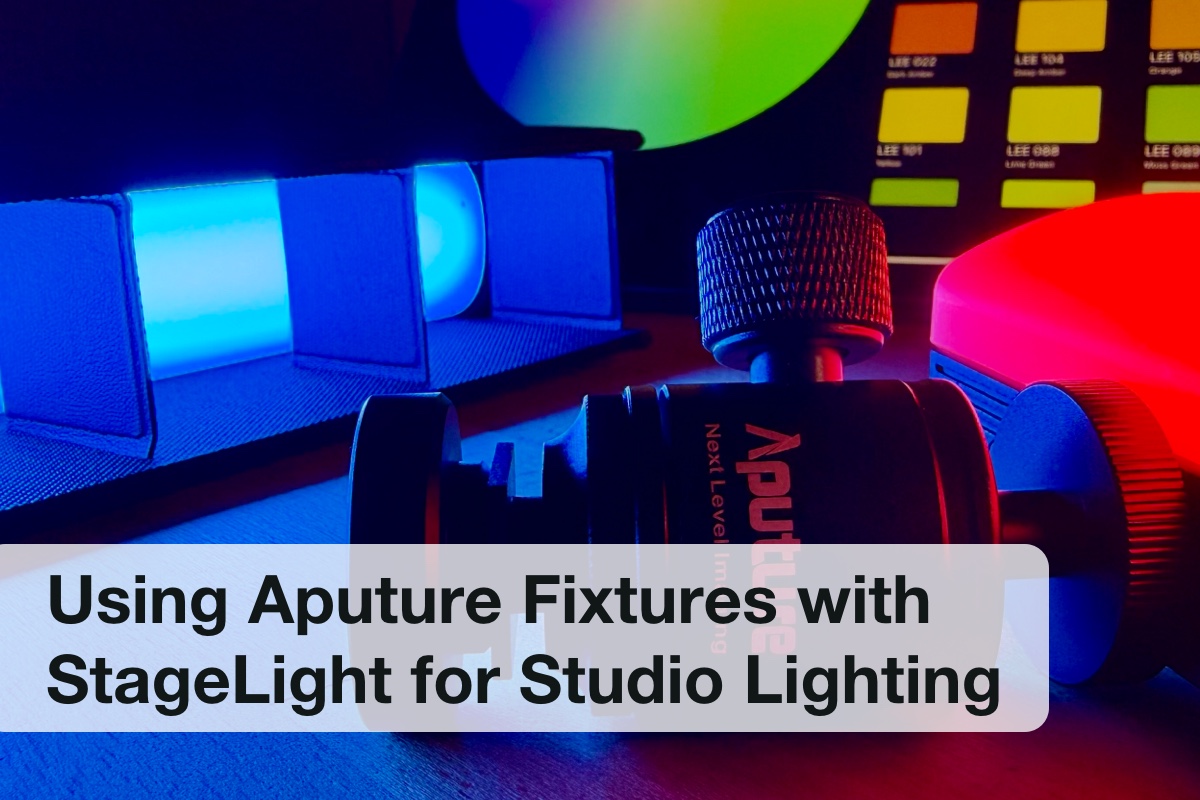
The Aputure community continues to grow – and for good reason: powerful fixtures, CRMX support, and professional-grade lighting technology.
StageLight is an alternative lighting control app that deliberately focuses on openness, standards, and studio-ready workflows.
Instead of controlling individual fixtures in isolation, StageLight puts the design of light at the center: scenes, lighting roles, and repeatable setups – independent of the manufacturer.
For a more tactile workflow, MIDI controllers can be connected.
StageLight also features an open fixture library, and an API is coming soon, enabling control via tools like Stream Deck or Bitfocus Companion.
This openness makes StageLight a powerful solution for studio, broadcast, and creator environments where flexibility matters.
In this article, I’ll show you how to get started with a simple, single-fixture setup using an Aputure light and StageLight. More advanced multi-fixture setups and studio lighting workflows are intentionally part of the upcoming online training.
Why StageLight for Studio Lighting?
StageLight is not just about sending DMX values.
It’s designed for people who want to think in lighting concepts, not channels.
With StageLight you can:
- build reusable lighting scenes
- focus on key, fill, back, and accent roles
- quickly recall looks for recurring shoots
- experiment with lighting ideas before or during production
This makes it especially suitable for portrait, interview, and studio environments.
The Simple Setup: One Aputure Fixture in StageLight
This basic setup is ideal if you want to:
- get familiar with StageLight
- start creating studio lighting scenes
- work reliably without complex patching
Requirements
- StageLight App
- One Aputure fixture with CRMX support
- Lumenradio CRMX Toolbox App
- Bluetooth enabled
Step-by-Step: Connecting the Fixture
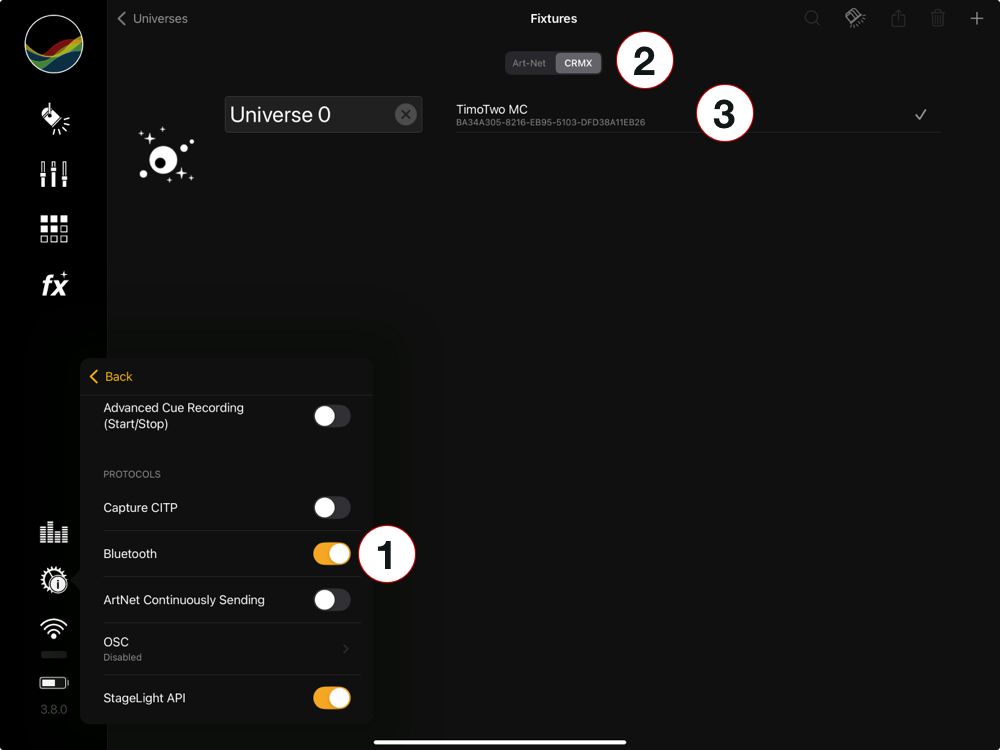
- Enable Bluetooth in StageLight
- Switch to the CRMX Tab
- Connect the Aputure Fixture. Your Aputure fixture will appear as “TimoTwo”
Patch DMX Mode and Address
- Select the Aputure fixture from the library
- Select the DMX mode
- Assign the DMX address
Creating and Saving Scenes (cues and cue lists)
Now the creative part begins:
- adjust intensity
- set color temperature or color
- save your settings as a cue inside a cue list
- recall cue list instantly when needed
Why This Article Stops Here
This guide focuses on a simple, single-fixture setup — ideal for getting started with StageLight.
Ready for more? I’ve prepared a dedicated live online course covering advanced, real-world setups.
In the course, you’ll learn how to integrate multiple Aputure fixtures into a structured CRMX-based studio workflow using StageLight, including reliable scene setup and recall for professional environments.
Every participant receives an Academic License:
- 45 days of StageLight Ultimate
(instead of the standard 14-day trial)
Enough time to explore the workflow, practice properly, and evaluate everything without risk.