The last two tutorials were about preparation. I showed you how fixtures are patched and grouped and how cues are created in StageLight. In this tutorial, we will focus on live use. I’ll give you 5 tips that will help me when using StageLight live.
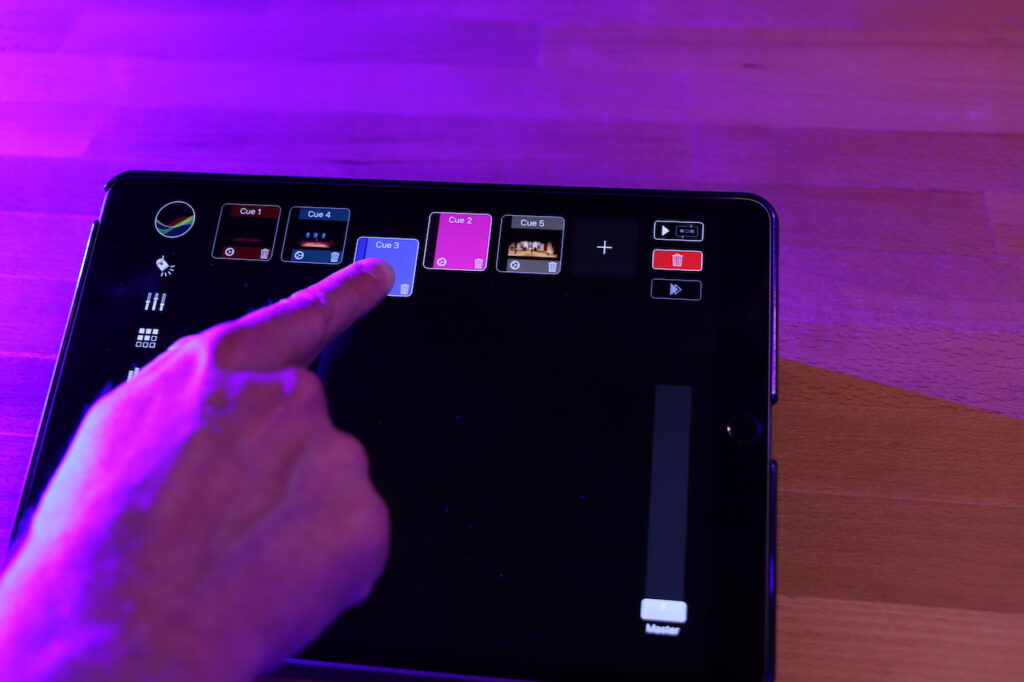
But before that, a small addendum to the last tutorial. You can now rearrange the cues in StageLight relatively easily using drag & drop. To do this, simply hold down the cue and then move it to the appropriate position.
But now we come to the 5 tips for live use:
Tip 1: Hardware controls
Maybe you know it. The show starts, you’re excited and your hands are slightly damp. As much as I like the iPad as a lighting controller, it’s not as easy to use with wet or very cold fingers. And that is a clear advantage of hardware controllers. That’s why I use such a simple MIDI controller for live use. With the large iPad, you can connect the controller directly via USB-C. The smaller iPad requires a Lightning USB adapter.
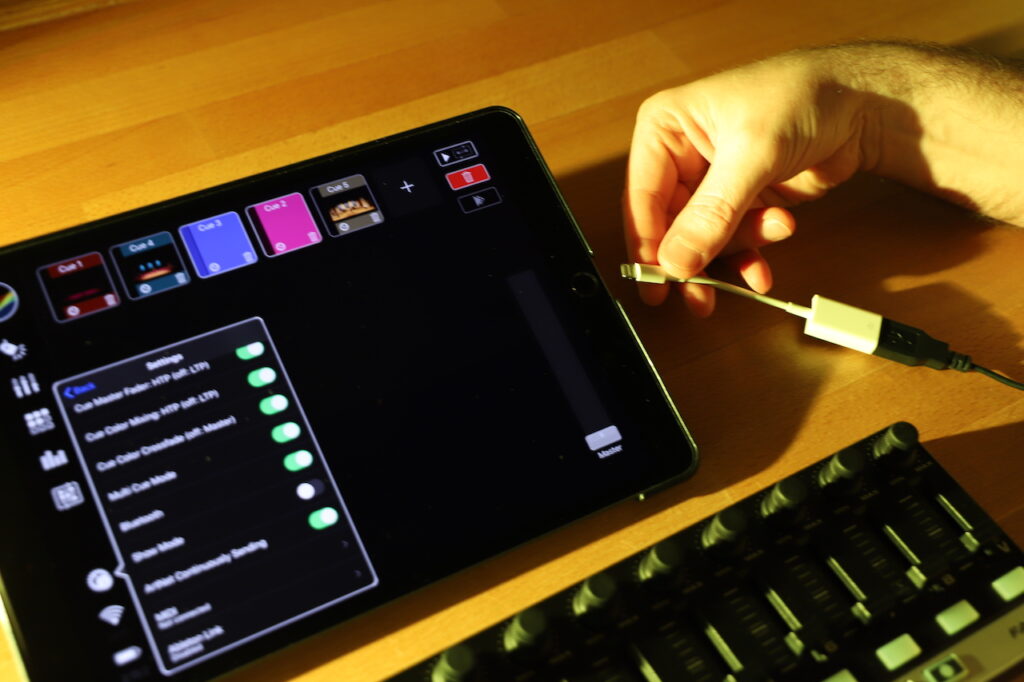
In StageLight, the MIDI controller is configured in the settings. To do this, select the action in StageLight (e.g. master fader) and press or move the MIDI control. This connects this MIDI signal to the action.
Tip 2: Scene Pages
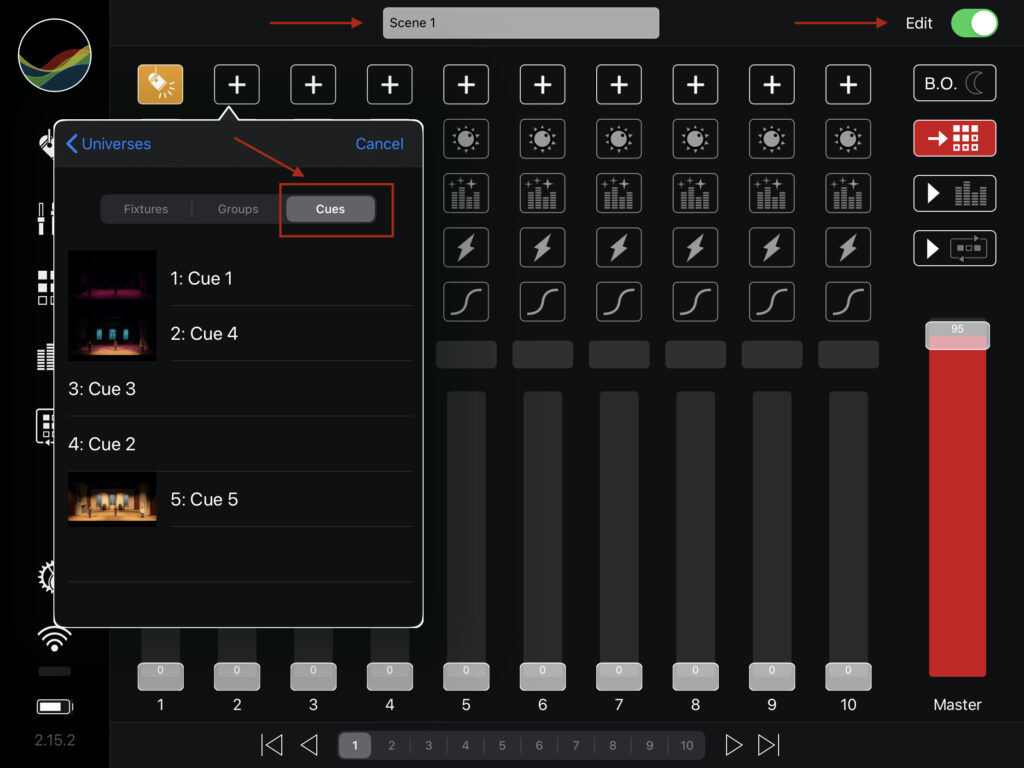
In addition to activating the cues in the playback view, you can also organize the cues in the mixer and, for example, use one page per scene and then store all the associated cues in it. This also gives me the opportunity to use cues several times. Similar to the cue playback, there is also the option here to automatically show and hide the cues. It’s also easier to change the currently displayed cue live here if things don’t go as planned during the show. With the activation of the next cue, everything is overwritten again.
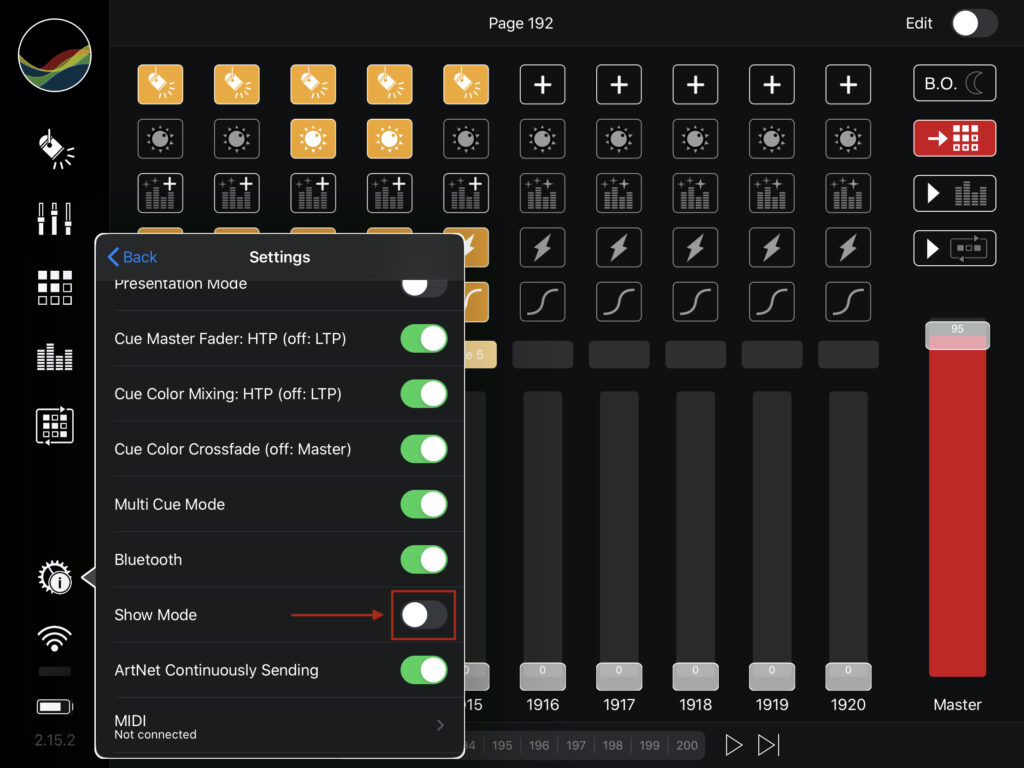
Tip 3: Show Modus
Show mode is used to prevent accidental changes (deleting, overwriting). This can be activated in the settings menu. StageLight then goes into the read-only state.
Tip 4: Backup device and data exchange
Any technical device can break. In this case, you need a backup device. In general, it makes sense to create a backup of the show. This way can also be used to set up the backup device, for example via airdrop.

You have to be careful, however, because Art-Net would send both devices congruently with each other.
I, therefore, recommend that you disable permanent sending on the backup device and set the master to the same value. If there is an exchange, the permanent transmission must be deactivated beforehand on the device that is still active. With the new device, send can now be set to „Permanent“. Alternatively, you can also activate or deactivate the WLAN selectively. This is a bit easier with W-DMX via Bluetooth, as only one iPad can be connected to Lumenradios Moonlite or TimoTwo at a time.
Tip 5: Auto Release Update (StageLight & OS)
The software update process in the app environment is completely different in many ways than, for example, with a hardware console. Releases are usually much more frequent and often automatic. This can be a problem in professional settings. On the one hand, errors can „creep in“ unnoticed, or existing functions can be changed or, in the worst case, eliminated.
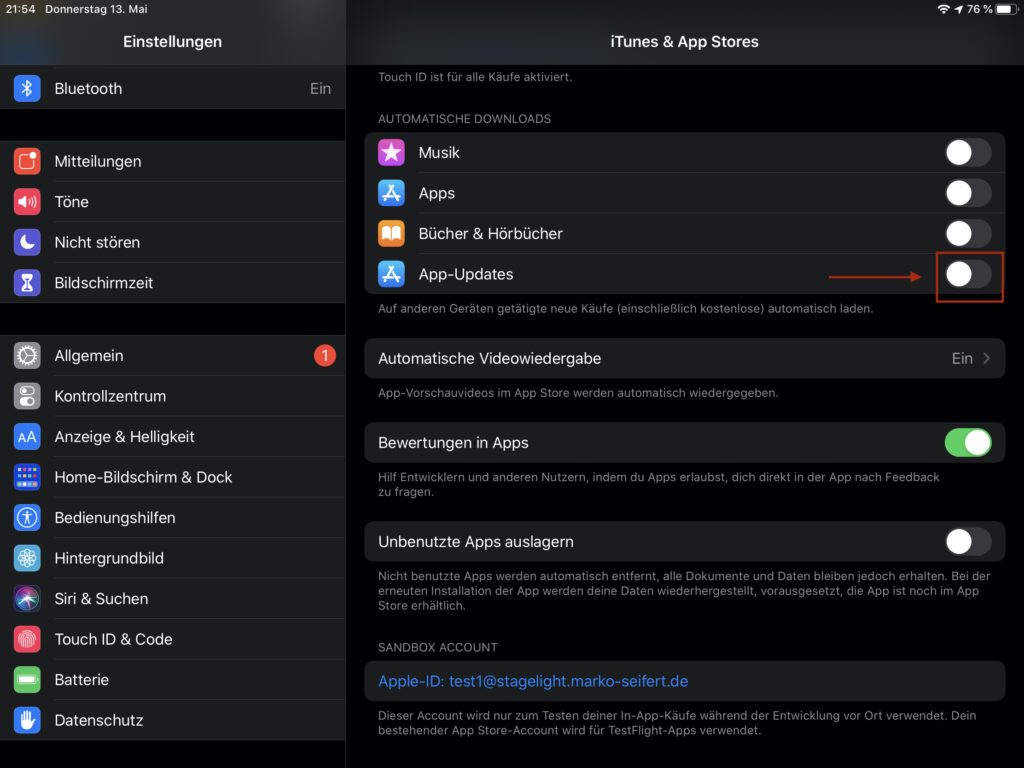
This applies not only to the app but also to the operating system. For this reason, I recommend that you disable automatic updates and run them manually, for example after the last show.
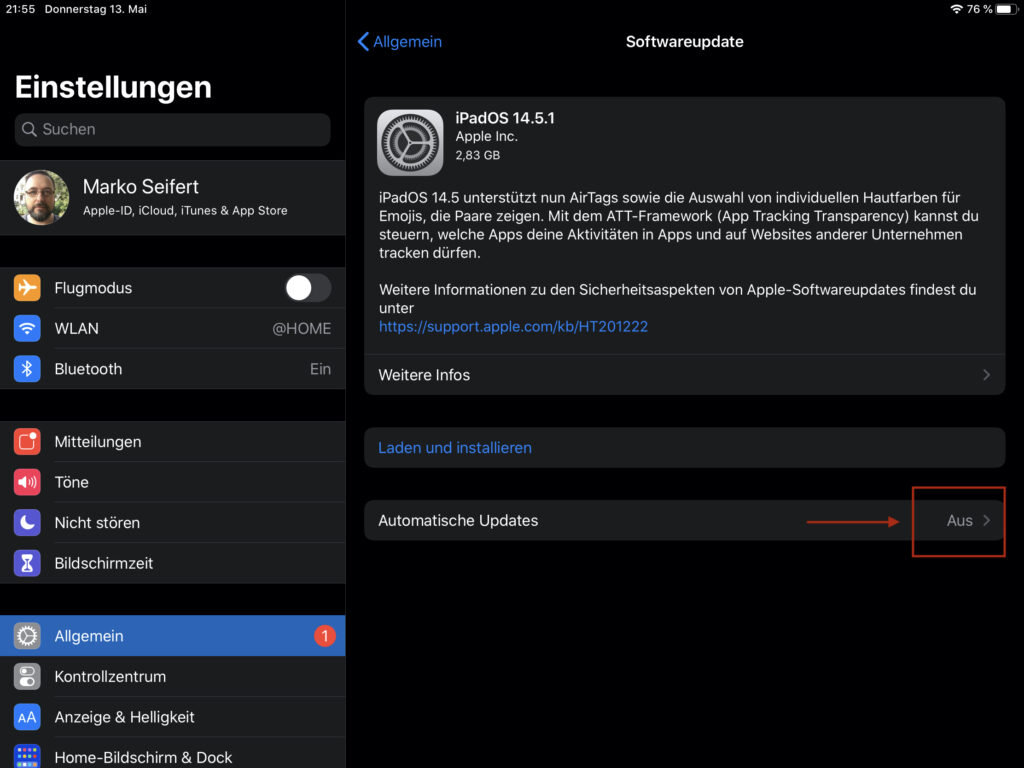
Alternatively, of course, there is also the option of importing a software update to the two devices and checking the show setup.
Those were my 5 tips for live use with StageLight. I hope you enjoyed the tutorial series. If you have any questions or comments, feel free to write them to me in the comments.
Links: